
Introduccion
If this is your first time learning to surf and/or if you are still a beginner this section will provide you information you need for your first couple of times in the water. I call this section the basic class of surfing Santa Teresa.
As a beginner your knowledge is limited, therefor the first thing to be recommended is simple: find a professional instructor, who can help and support your surfing and make sure you get the most our of your time in the water.
But if you are determined to try to go out by yourself, read through this section and it will explain you the things you need to know.

Surf Spots
The first thing you need to know is where to go and practice your surfing. The spot needs to be suitable for your level, so you and others remains safe in the water.
There are many beaches around Santa Teresa where the waves are good for practicing surfing and all these spots changes regularly due to the seabed. This means that a spot can be suitable for you one day, but not the next day.
As a beginner the best spots to start surfing will be explained in the following:

Beach break
A beach break is a beach which is full of waves everywhere and has a sandy bottom. The beach break is limited by the surrounding rocks. The waves changes every day depending on the tides and weather, but can be divided into 3 categories:
First line: White water
The white water is the spot when you first get in to the water, where the waves already have been breaking and turn into small white “foam” looking waves. You should be able to touch the ground and have control of your board the whole time. This is the best place to learn surfing the first couple of times. It will usually contain small constant waves, which let you try again and again and therefor quickly increases your learning.
- Second line: Impact zone
This is the place you try not to be. The impact zone is between the white water and the line up. This zone is full of currents.
Note: sometimes with certain conditions of very small waves this is the only place that you can practice.
- Line up: Green waves
This ares is located just after the impact zone and the water will be more calm here, since the waves haven’t broken or foamed yet. We, at Pocket Wave, like to call this the happy zone or rest zone.
This is the place where the wave begin to rise like a wall of water and you catch the green waves.There is a lot of surfers in the water placed as if in a line – hence the name “the line up”.

Point Break
This beach, unlike the previous one, has a rocky sea bed which makes the waves only break in one point. Therefore you only surf either right or left waves.
Although this kind of spot often contain manageable waves and good conditions, it does takes a little more psychical effort when paddling. There is only green waves (no white water) and the rocky bottom can be a bit intimidating the first couple of times you go surfing.

Boards
When you are ready to go the spot you have chosen you need to know which board to use. Surfboards comes in a range of different styles and sizes, this section will explain about 3 boards that Pocket Wave recommends for beginners. These boards have been used and tested of a variety of different beginners.
Note: Your height and weight can play a role in what board you should get.
Soft and hard top
First you need to know that the boards are measured in feet and there are two different materials used: hardtop and soft board.
Hard top means that the board has a hard “top” surface (the side facing you). It is made of a harder material, but it is more fragile and will more easily break. When surfing with a hard top board you move easily around and often surf faster.
You should use a hard wax, called Cera, which prevents you from slipping of the board.
Soft board are made of soft foam material on the top surface. This means it is very beginner friendly because it gives you more stability in the water and are harder to break.
Time and tides
Now that you learned about the different surf spots and what board to use, the next thing is to know when to go.
Depending on where you want to surf, it is very important to know the tides and how these changes everyday. You can easily check the tides of Santa Teresa on our app or website.
If you are a beginner and decide to surf on a beach break it is always best to surf 2-3 hours before low tide.
If you are a beginner and wants a bit more of a challenge and decided to surf a point break you should always go during high tide (and only if there are good conditions). The rocky seabed can otherwise be very dangerous.
What do I wear?
Once you got your board and leash you’re almost ready to go into the water. Besides wearing a bikini/swimsuit/shorts Pocket Wave recommends to also bring sunscreen, a surfing shirt/rash guard to prevent rashes, water to drink, wax for the board, a towel and of course good vibes.
arriving to the beach
If you’ve arrived at your chosen spot with everything you need to go surfing and still dont know what to do – dont worry, you’re almost ready to go out and give it a shot.
The first thing you’re going todo is check your board; does it need wax? If it does, you start putting wax. Cover the place on the board where you will be standing.
Before going into the water you need to find out which foot you should put your leash.
Goofy
When people use their leash on the left foot we called it goofy. It is for people who naturally places their left foot on the tail of the board and the right foot in the front when doing the pop up.
Regular
The opposite we call regular. This is for people who put the leash on their right foot. When doing pop up their right foot will therefor be placed in the tail of the board and the left foot in the front.
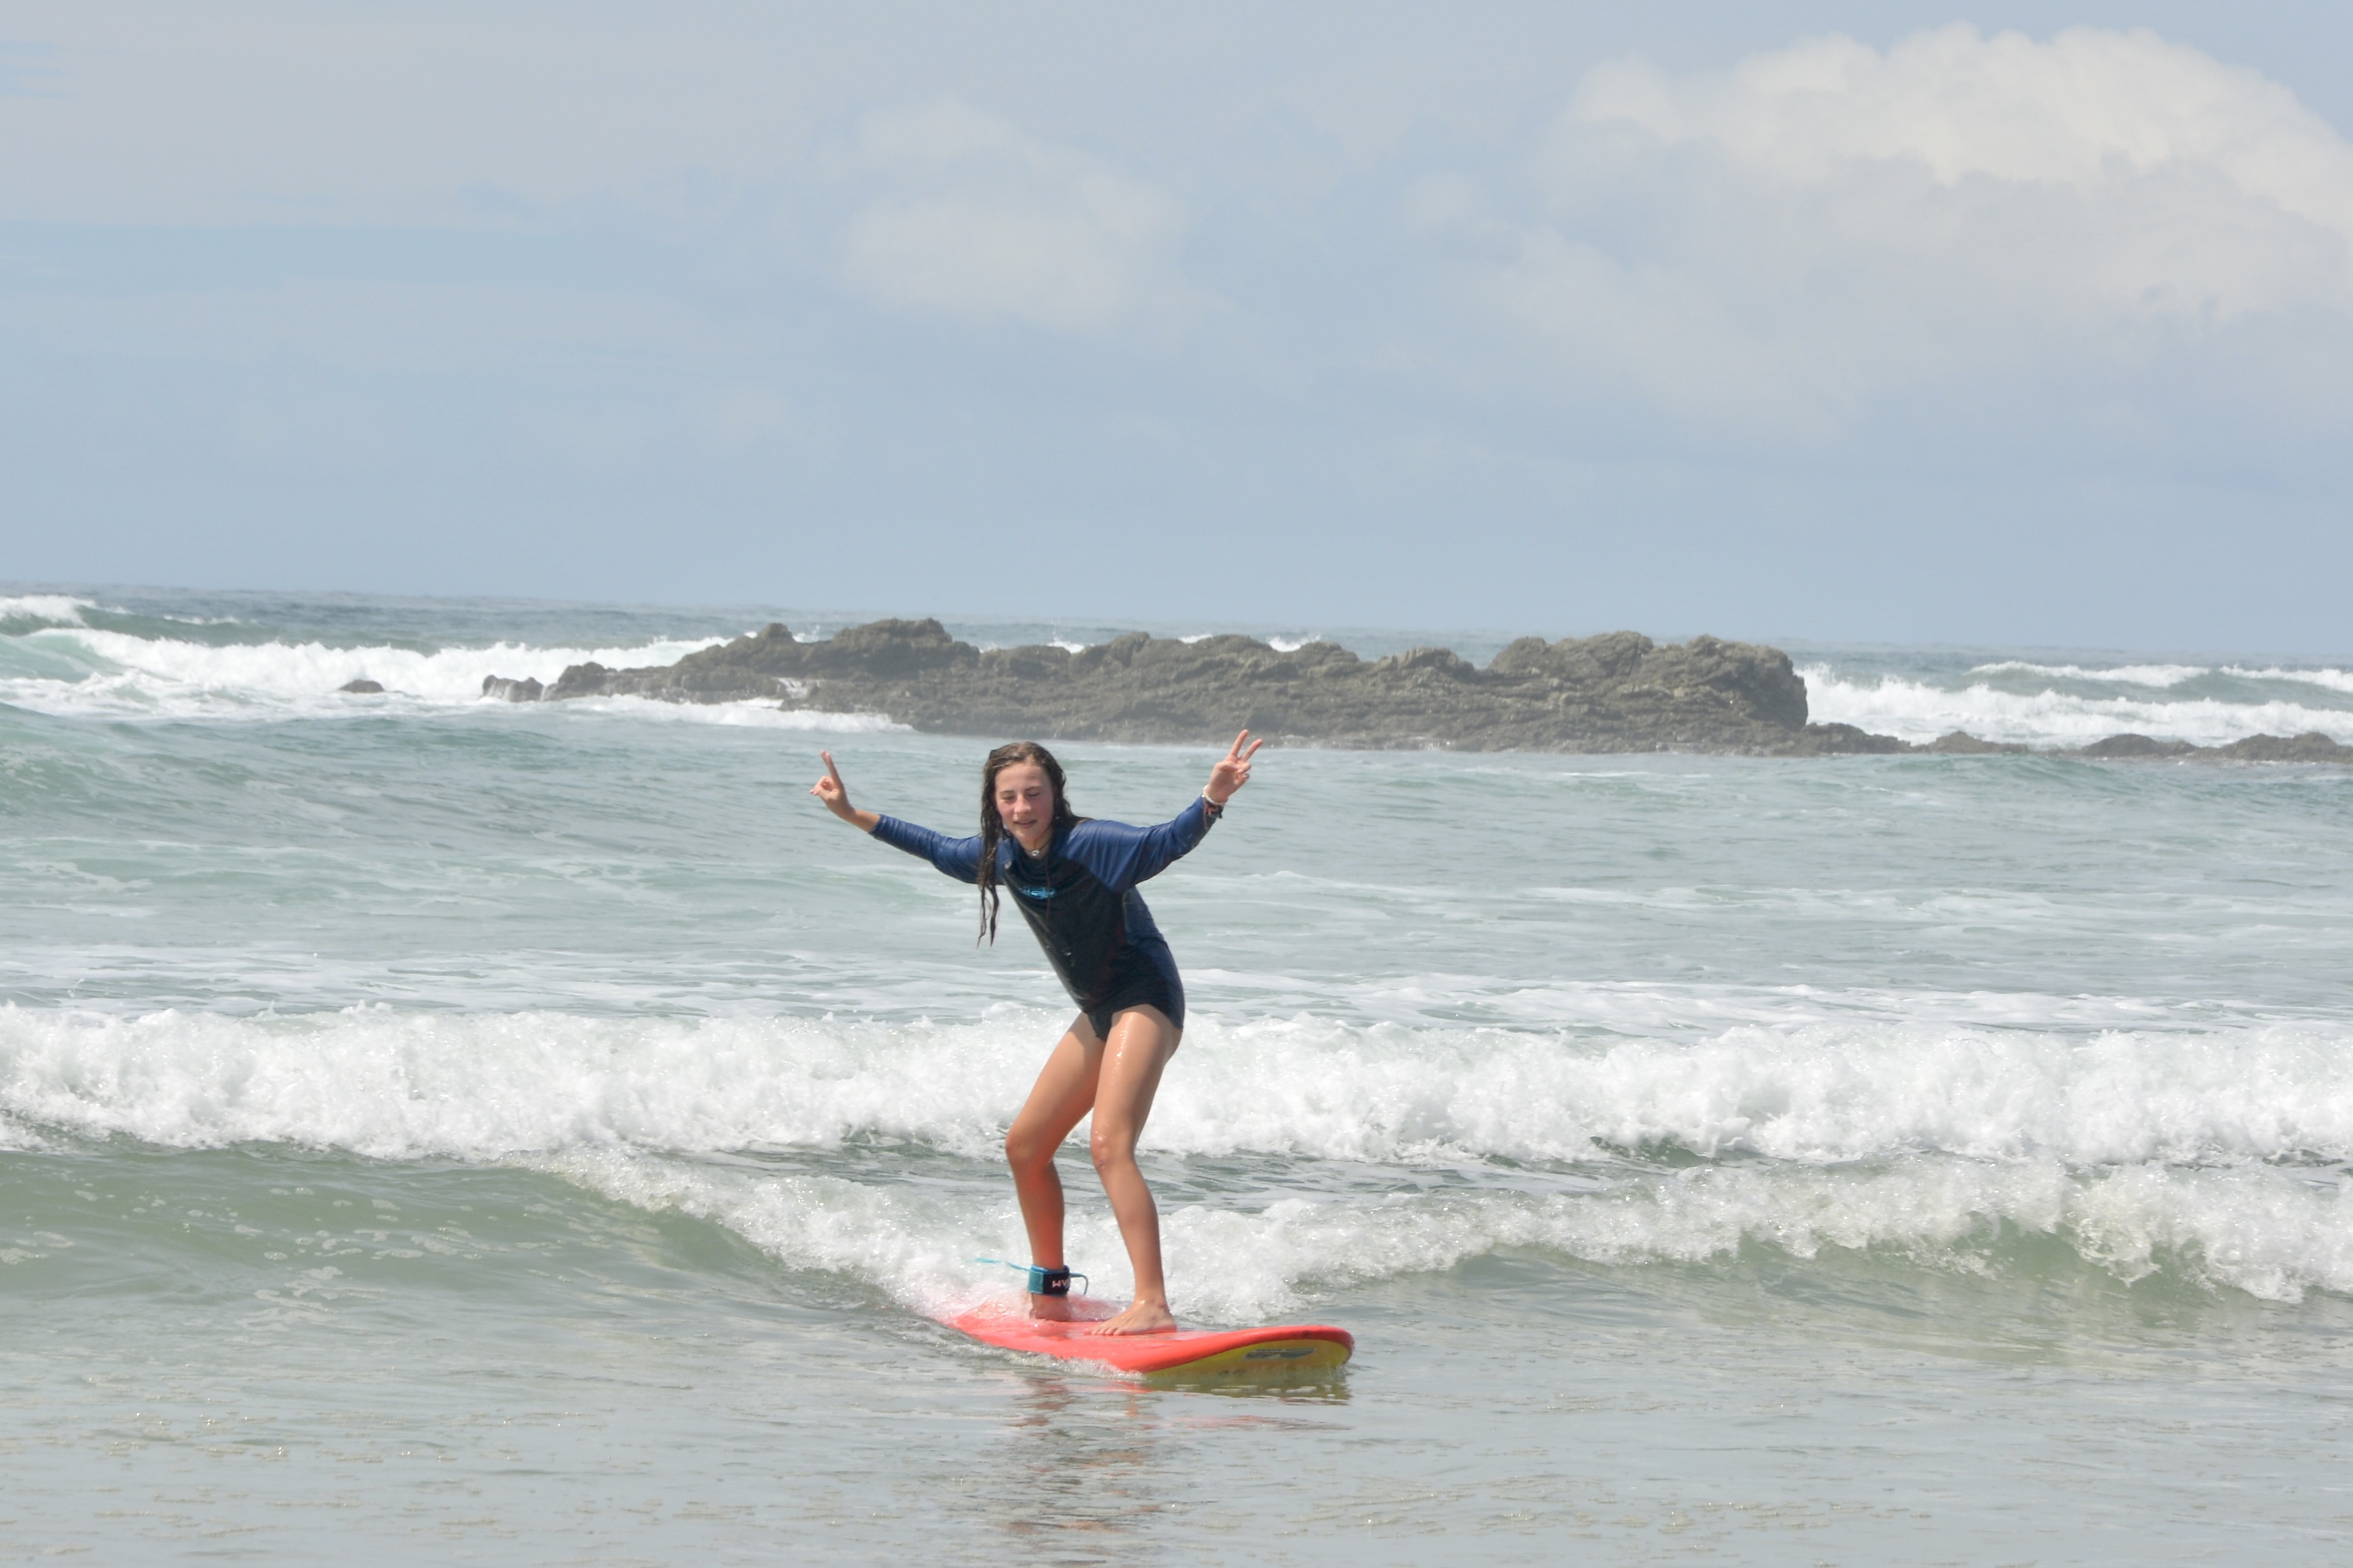
Standing on the board
You can’t go into the water before knowing how to go from laying on the board to standing in the right position. In the following we provide you a step-by-step guide for two different techniques to do this:
Pop up
- The board should now be in the sand facing upwards. You start by laying down on the board with your chest up and your feet touching the edge/tail of the board. Put your feet together and place your hands under your chest. Look forward.
- Count quickly to 3 and jump to get up while placing one foot forward and one backwards. You shouldn’t be thinking, but just letting it happen naturally.
- Once you’re standing you can check your position. The proper position is shown in the video here:video
Chicken leg
If you aren’t comfortable with the pop up technique, you can try the chicken leg.
- Start by lying down on your chest with your eyes looking forward. Keep your back straight. Your hands should be positioned right under your chest. The same as if you were ready to do a pull up.
- Now you need to flex the leg that goes back on the board – the foot/leg with the leash that touches the tail.
- With the help of your back and shoulders you push yourself up on your hands, as if you were doing a push up.
- Then you place the other foot, the one without the leash in the front. Check If your position is fine and then you let go of the hands and stands up.
Controlling the board
Now you’re ready to go into the water. But you need to know how to control the board while you’re trying to paddle and catch waves.
Beach break
If you’re in a beach break and ready to practice in the white water, this is what you need to do:
- Walk with your board under your arm into the water. Already when you feel the water on your ankles you can begin putting the board down with the tip facing towards the the open ocean and the fins facing down in the water.
- Hold the board with both hands at the nose of the board. Pull it up and walk with your back straight while always maintaining a view of what is going out in the ocean. Raise the board more up when a wave approach you.
- Maintain this position until the water reaches your upper body or it gets more strong. You never lay on the board until you’re ready to take a wave.
- You have to change the way you hold the board when the water reaches your upper body or begins to push you harder.
- Now you place the entire board in the water with the nose facing the ocean. Hold the board with both hands at the tail of the board.
- When a wave approaches you press the tail down, so the nose of the board goes into the air and not into the wave.
- Jump forward with your body when the wave passes you. This will make it easier.

How to catch waves In the white water Step-by-step guide:
- Before getting on your first wave, you have to decide and be determined on which one you want to try. Choose on that you have time for and one that seems like it has enough power to push you.
- Once you have chosen a wave, you make sure your board is in the correct position in the water. So the tip should be facing toward the shore and the tail toward the ocean.
- Then you lay down on the board. The best way to get on the board is to place your hands on the edges of the board. Then place your chest on the board, then your torso and finally your legs and feet. Once you lay on the board, you can check if your position is correct. It should look like the following photo.
- You can start the paddling when the wave is 3 meters away from your feet. Remember to always keep your chest up. You paddle one arm after the other. Try to keep your fingers close together.
- Once you feel the power of the wave you wait a bit and makes sure the wave takes you and then you try to stand up.
In the line up at a point break
If you find yourself on a beach with waves only at one spot and with a rocky seabed, your way of surfing will be different. Going into the ocean and out in the line up, you will have to paddle through a current channel and then afterward paddle over to the line up. The current channel is the spot where the waves are no longer there and the water is calm.
Step-by-step guide:
- At surf spots where the seabed is made out of rocks you walk with your board until you are sure there is enough water to put the board down without damaging it.
- Then you get on the board in the same position as explained in the white water step-by-step guide.
- Begin the paddling in the current channel and when you’re far enough you can turn to the line up.
- Then you sit on your board which makes you keep a balance. You should always look toward the ocean and check the waves coming toward you. Make sure you’re not interfering with other surfers.
- Now you choose your wave. Wait for the wave until the wall that begins to rise to its maximum point. Start preparing yourself and paddle when it is close to you.
- Paddle until the wave pushes you and don’t stop the paddling until it is safe and then you try to stand up. Remember to always surf in the direction that faces away from the rocks.
Safety and accidents
How to get off the board
There is no proper way to get off the board, but what is recommended is to throw yourself behind the board where the white foam is. This contains more water, which will softens the “fall” into the water.
When falling/getting of the board you should always put your hands up, so they protect your head. After getting off the board you can check around that the board isn’t on top of you.
Things to keep in mind
- Always look and feel where the sea currents take you while you surf. Try to maintain a point from which you always surf in (e.g. find an object on the beach and keep that as a way of making sure you’re in the same spot). This prevents you from getting lost at sea or ending up in dangerous spots with rocks.
- Always check the tide and go when it is suitable for your chosen surf spot.
- As a beginner you should always give other surfers priority and make sure you’re not in their way since this could cause accidents.
- Avoid drinking the sea water – especially in red tide.